
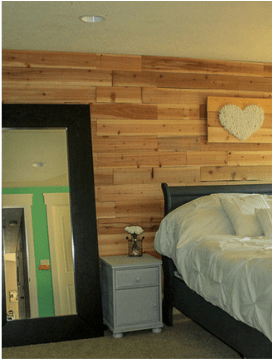
I love mirrors, I love that they can change the look of a room. And I love the farmhouse style. So, naturally I wanted to bring this into my living space. Luckily this is a quick, easy, and cheap project to concur.
My favorite projects are weekend projects. Where you can work hard and really see a difference. Unlike our DIY kitchen remodel, I am working on getting that post up and running. This project is a quick day project that will really add a cute accent to your space.
You can use any type of wood you like the look of. We wanted a rustic look, so we went with the cheap outdoor trim boards, that are rough and rustic. Not like the trim in your house, the kind you would trim out your window from the outside. I can't remember the price, but we are talking cheap. If you wanted this to look more smooth and paintable, you would need to sand these down. In our case, we didn't need to sand.
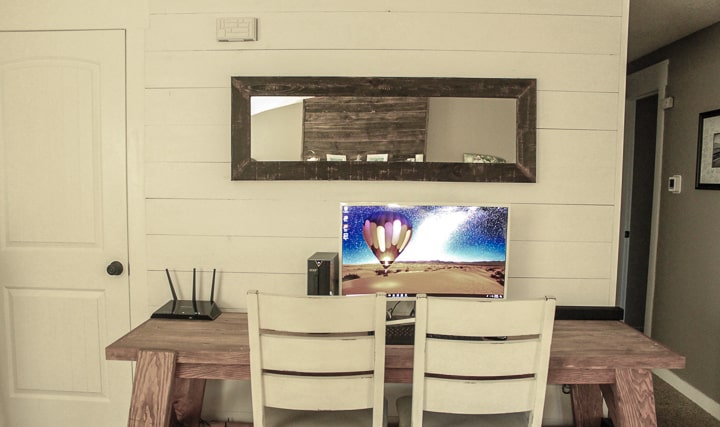
What you need?
- You will need a saw, a miter saw is the easiest for this project
- A mirror
- Wood glue
- Wood (type will vary on what look you are going for)
- Either stain or paint (paint brush or rag, etc)
- Wood clamps or strong tape
- Sand paper (only if you don't like the rustic look of the wood)
- Tape measure
- Pencil for marking
- Corner pieces (or make your own)
- Hanging hooks
You can take any mirror, we had this one with a different frame on it. It can be a little tricky to removed the frame, so be careful when doing so.
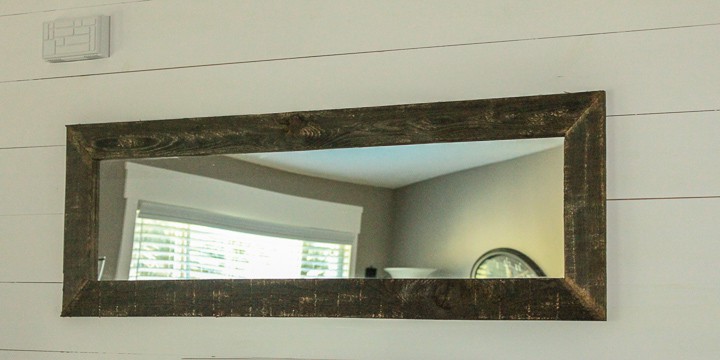
How we did it;
- oFirst we removed the frame around the existing mirror, this can be tricky, so be careful
- Once it's removed you can measure your wood. My husband did this part. He is really good at measuring and doing mitered corners. You will need to miter your corners so they come together at a 45 degree angel.
- Once your corners are all cut you will want to make sure they fit with your mirror and then glue the corners together and use your clamps or strong tape to tape your corners, so they can glue together strong. *Sorry I have no pictures of this process, this is an old project.
- Once you have waited for the allotted time per the glue manufacturer, you're ready to stain or paint it. First you need to put wood filler into the cracks that you will likely have, to make sure it all comes together nicely. I chose to stain mine, you could paint it a fun white and make it farmhouse-y, but I was putting it up against ship lap. Make sure to test your stain out, I used a stain I have used for several other projects in my living room and this stained wayyyyy darker than I anticipated it to, due to the type of wood it was.
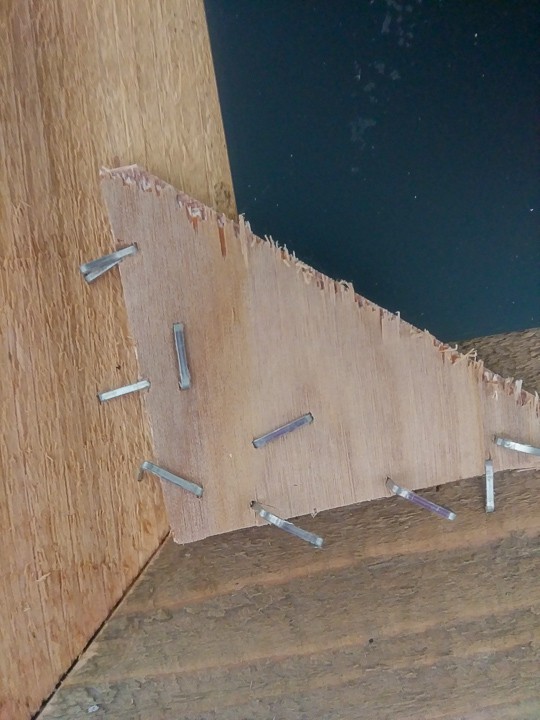
- Once the stain or paint is dry, you'll want to flip the frame and mirror over and connect the mirror with the frame. We used staples and little pieces of wood. You need something to reinforce the corner, and attach it to the frame ( see picture). We did one at each corner and the top and the bottom of the mirror long ways, for more support
- Attach your favorite hanging hanging hook and you're good to go!
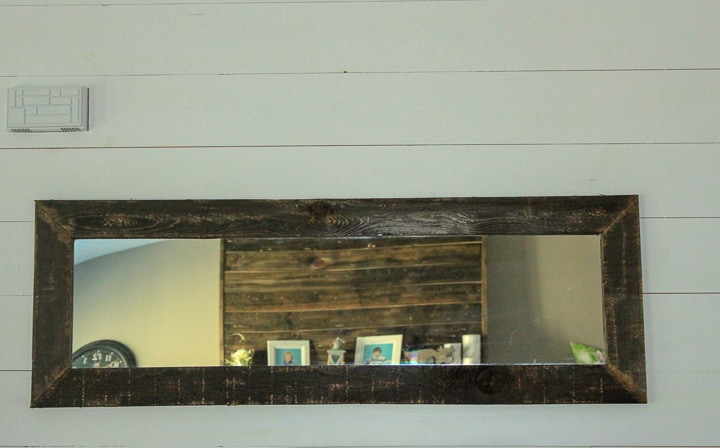
I would love to see your favorite mirrors!



Leave a Reply