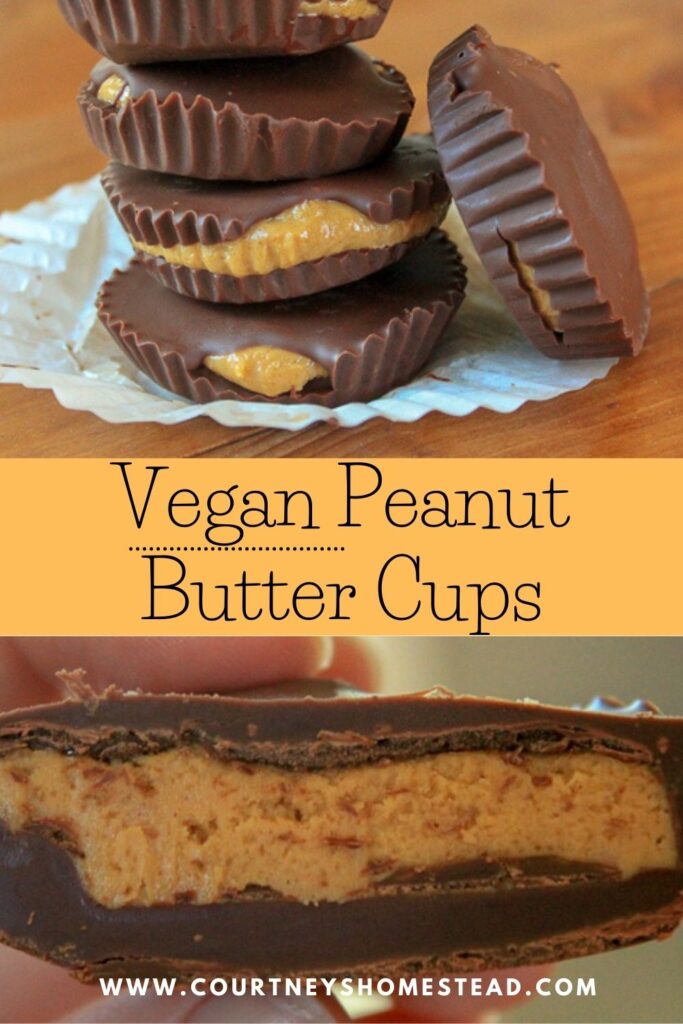
These vegan peanut butter cups are easy to make and taste just like the Reese's Peanut Butter Cups you likely grew up on.
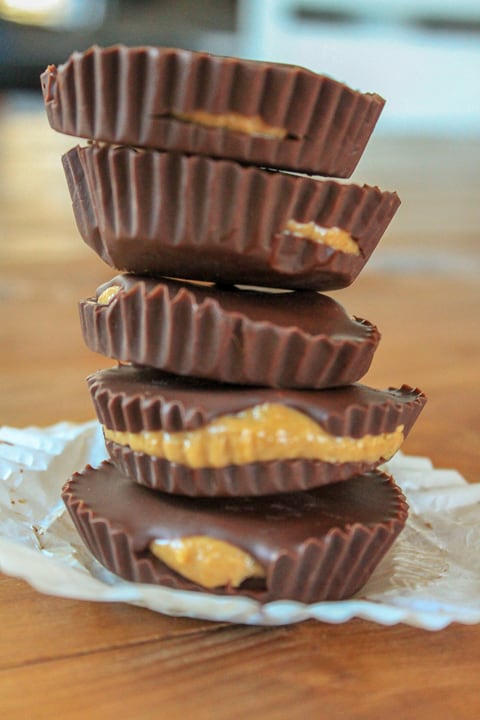
Peanut butter cups are one of my favorite treats. I mean, what's not to love with peanut butter and chocolate combo.
This recipe for vegan peanut butter cups is super easy and super tasty. It will make you never miss the ole Reese's Peanut Butter Cups.
My favorite Reese's cups were always the holiday ones; the "egg" or "pumpkin" shaped ones.
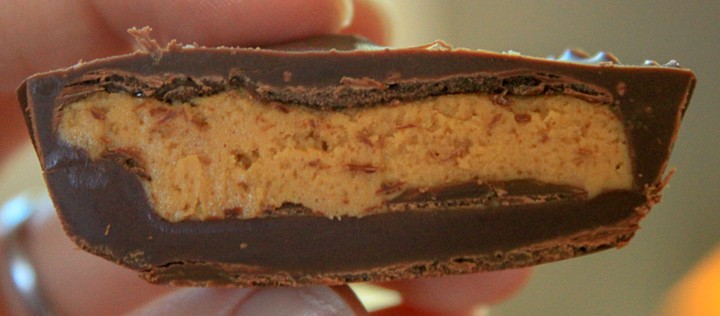
Mmmm, the creamy peanut butter center to chocolate ratio was much stronger, just how I like it.
They do have vegan peanut butter cups, like Justin's (affiliate link)– and they are SO good, but I didn't want to take an extra trip to the store.
So, insert vegan homemade peanut butter cups!
Now about the vegan peanut butter cups recipe- it's made with all simple ingredients.
This is made with the obvious peanut butter; It has a touch of brown sugar to bring a different flavor profile (and it's a good one) and powdered sugar to seal the deal.
Shaping these bad boys, well…. this dough is a bit sticky, which can make shaping them a bit of an annoyance, but not terrible.
There are a couple of different ways you can go about it I will explain in the Q&A section.
These are naturally gluten-free peanut butter cups.
Vegan Peanut Butter Cup Recipe Q&A
Can I use a different kind of nut butter instead of peanut butter for the filling?
Yes, you can use any nut butter you like; almond butter, cashew butter, or even a combination of peanut butter and the others.
Can I make this nut-free?
Yes, just use sunflower seed butter instead for the peanut butter layer.
What's the best peanut butter to use?
You can use natural peanut butter or regular creamy peanut butter.
I would stick to creamy and not crunchy unless you like a crunchy peanut butter cup. Honestly, I've never had one.
Peanut butter dough methods for the best vegan peanut butter cups;
1. You can just go at it (this is how I usually do it) and get sticky hands, but do your shapes and stick them on a Silpat lined pan and stick them in the fridge or freezer.
2. You could stick the dough in the freezer for 10 minutes and then shape them; they will still be a bit sticky, but not quite as bad.
3. You can take a Silpat, put your dough on it, take plastic wrap- put it over the top of the dough, roll them out to your desired thickness, and hope you have a biscuit cutter the right size for your muffin tin. That option is the most pretty and will make them the most uniform size.
4. If you have molds, let them freeze until they pop out easily, pop them out and then proceed with the recipe.
5. I have never tried this, but I read about it, and I am sure it would work- put the dough in a piping bag or ziplock bag and pipe it into your mold or cupcake liner after your first layer of chocolate.
Five options make it sound like these peanut butter cups are way harder than they are.
They really aren't; once you have your method down, it's easy peasy. And you're sailing into peanut butter goodness.
What ingredients do I need for these homemade vegan peanut butter cups?
Check the recipe card at the bottom of this post for the full ingredient amounts.
- Peanut butter
- brown sugar
- powdered sugar
- vegan butter softened (I use Earth Balance)
- salt
- vanilla extract
Chocolate coating
- non-dairy chocolate chips or vegan chocolate bars chopped
- oil or melted coconut oil
- salt
How do you make these easy vegan peanut butter cups?
Start by getting a parchment paper or Silpat on a cookie sheet that will fit in your freezer, and set it aside.
Get your stand or hand mixer and mix all of your peanut layer ingredients.
Mix until well combined.
Take your dough and put it either on a Silpat or parchment paper.

Roll out the dough by placing plastic wrap over it (so it doesn't stick, this is pretty sticky); once rolled out to your desired thickness, use a small biscuit butter and cut them out for whatever size your peanut butter cup will be.
Alternately- you can stick the dough in the freezer for 10 minutes, then shape them in your hand, put the shapes on the cookie sheet, and place them in the freezer while melting your vegan chocolate chips.
Get a microwave-safe bowl and put all your chocolate ingredients, cook for 30 seconds, stir for about 15 seconds, then put back in for 30 seconds, and stir for another 15-20 seconds.

If it still has some chunks that aren't melting, proceed with caution- you don't want your chocolate to seize.
You can cook it for another 15 seconds on 50% power. The amount of time it needs is also going to depend on how big your bowl is.
If, after the first 30 seconds, things are getting pretty melty, switch over to the 50% power until done.
Pour your melted chocolate either in molds or paper liners in a cupcake tin (muffin pan).
Pour a little less than one tablespoon (again, depending on size, you might have to play with it if using molds) into each liner.
Give the tin a little bit of a shake so all the chocolate covers the bottom.
Then take your peanut butter shapes and press them into the mold of the chocolate.
Now take the remaining chocolate and cover the peanut butter mixture.
I would stick them in the fridge or freezer to harden for a few minutes, and then they are good to go!
How do you store these vegan chocolate peanut butter cups?
These are best stored in an airtight container in either the fridge or the freezer; they may melt a bit if left out at room temperature for too long.
Can you freeze Reese's cups?
Yes, make sure they are in a freezer-safe sealed container, and they can be frozen for up to 6 months.
Just place however many you want on the counter or in the fridge to let defrost and then enjoy.
This recipe goes hand in hand with the BEST vegan peanut butter cup cupcakes recipe.
Want some other vegan candy recipes?
Vegan Peanut Butter Cups
Ingredients
Peanut butter mix
- 1 Cup Peanut butter
- 2 TB brown sugar
- ¾ cup powdered sugar
- 2 TB vegan butter softened (I use Earth Balance)
- ¼ teaspoon salt
- ¼ teaspoon vanilla extract
Chocolate coating
- 3 cups chocolate chips
- 3 teaspoon oil
- ⅛ teaspoon salt
Instructions
- Start by getting a piece of parchment paper or Silpat sheet on a cookie sheet that will fit in your freezer. Set aside
- Get your stand or hand mixer and mix all your ingredients. Mix until well combined.
- Take your dough and put it either on a Silpat or parchment paper. Roll out the dough by placing plastic wrap over it (so it doesn't stick, this is pretty sticky). Once rolled out to your desired thickness, use a small biscuit butter and cut them out for whatever size your peanut butter cup will be. Alternately- you can stick the dough in the freezer for 10 minutes, then shape them in your hand, put the shapes on the cookie sheet, and place them in the freezer while melting the chocolate.
- Get a microwave-safe bowl and put all your chocolate ingredients, cook for 30 seconds, stir for about 15 seconds, then put back in for 30 seconds, and stir for another 15-20 seconds. If it still has some chunks that aren't melting, proceed with caution- you don't want your chocolate to seize. You can cook it for another 15 seconds on 50% power. The amount of time it needs will also depend on how big your bowl is. If things are getting pretty melty after the first 30 seconds, switch over to the 50% power until done.
- Pour your melted chocolate either in molds or cupcake liners in a muffin tin. Pour a little less than one tablespoon (again, depending on size, you might have to play with it if using molds) into each liner. Give the tin a little bit of a shake so all the chocolate covers the bottom. Then take your peanut butter shapes and press them into the mold of the chocolate. Then take the remaining chocolate and cover the peanut butter mixture. I would stick them in the fridge or freezer to harden for a few minutes and then they are good to go!
Notes
Nutrition
If you loved this recipe, then give it a 5 star rating and leave a comment! I love to chat with you all. Please feel free to share on social media and tag #courtneyshomestead. I would love to see you over on Instagram or Facebook.


Emilie says
Made these for the peanut butter cupcakes recipe, they were super easy to make and so tasty! I am not vegan but made them for my sister, and they taste just like the "real" thing. (Maybe even better!)
Sarah Stevens says
They taste every bit like the ones you buy at the store, but without the guilt. They even have the fun edge you can bite around before devouring the middle 😉 Amazing!!
Courtneys Homestead says
Thanks so much Sarah! I am glad you enjoyed them! <3