These delicious vegan thumbprint cookies are the perfect Christmas cookies. They are made with a simple shortbread cookie dough, then topped with your favorite sweet jam filling and drizzled with a vanilla almond glaze.

Cookies are one of my favorite things to bake during the holiday season. There are so many varieties, and I love them for different reasons. These holiday cookies are so festive if you use a red jam, but you can really use whatever your favorite jam might be.
If you're looking for some other tasty holiday recipes, check out these: Vegan Snowball Cookies, Classic Vegan Sugar Cookies, or these Vegan 7-Layer Bars
Why you'll love this recipe
- It's a simple recipe.
- They taste amazing.
- They're super festive cookies.
Jump to:
Ingredients and Substitutions
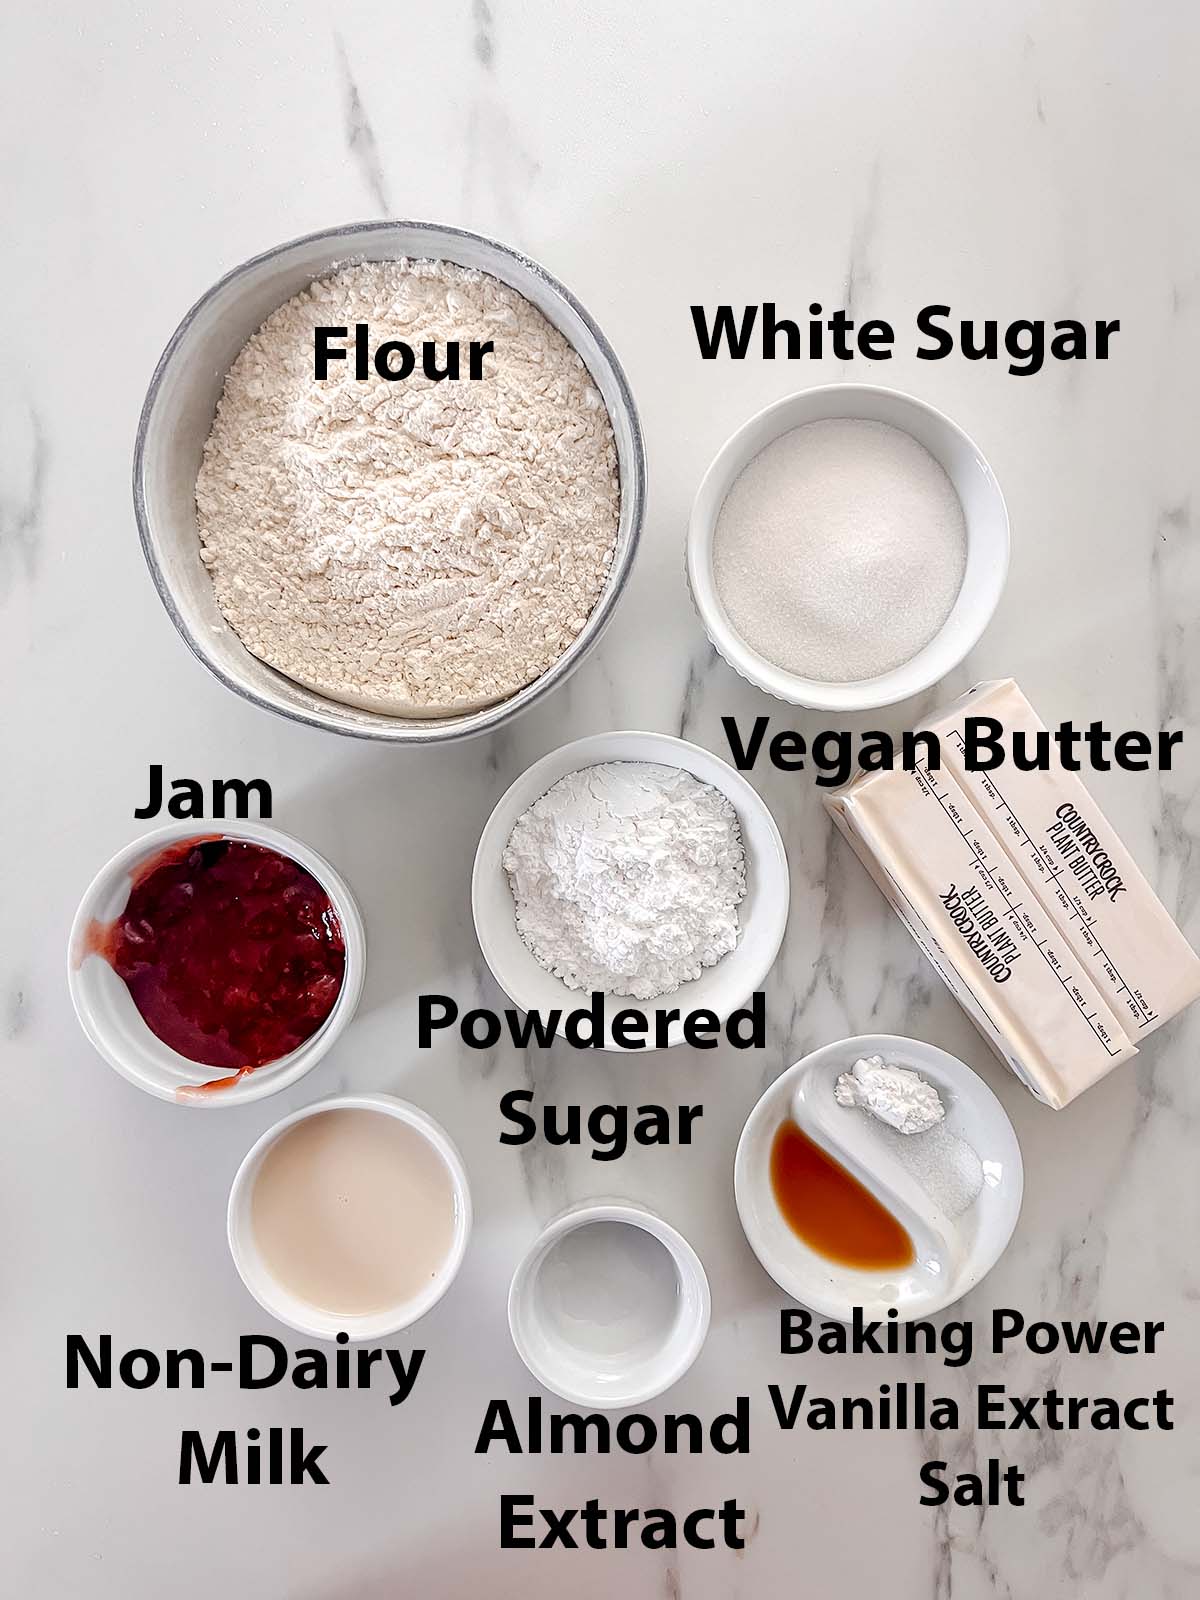
- White sugar- stick to white sugar for the flavor and color of these cookies.
- Vegan butter softened- use your favorite vegan butter. I almost always use Country Crock vegan butter.
- Powdered sugar- this helps with the texture of the cookie.
- Non dairy milk- use whichever is your favorite: soy milk, almond milk, oat milk, rice milk, etc.
- Vanilla extract and Almond extract- these both help with the flavor.
- All-purpose flour- this flour type works best, but if you need to make this gluten-free you can use all-purpose gluten-free flour in a 1:1 ratio.
- Fruit jam of choice- We prefer using a jam that is seedless, but you don't have to. Here are some flavors people love: raspberry jam, strawberry jam, apricot jam, and blackberry jam. Our personal favorite is either strawberry or raspberry jam filling.
Glaze
- Powdered sugar- This is a must for the glaze.
- Non-dairy milk- use whichever you have on hand.
- Vanilla extract- this helps give the glaze a flavor.
- Almond extract- You can replace the almond extract with vanilla extract. However, the almond adds the perfect flavor to the cookie, so I encourage you not to.
Check out the recipe card at the bottom of this post for full ingredient and quantity information.
How to make easy vegan thumbprint cookies
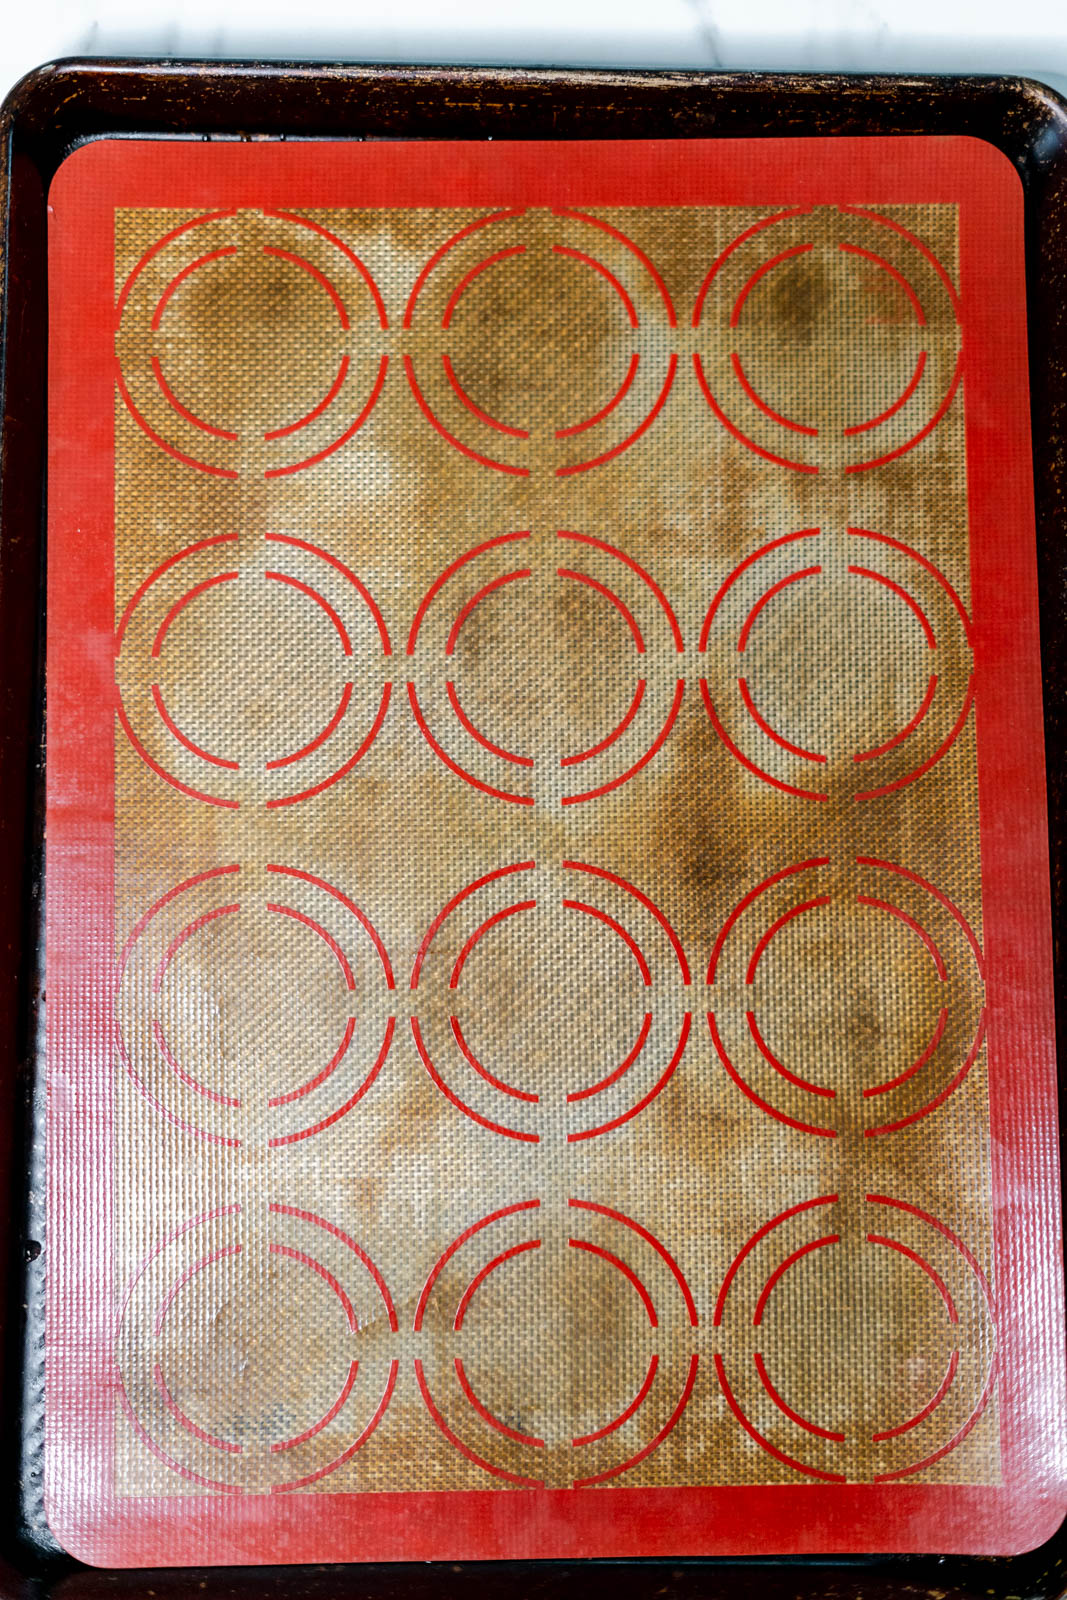
Step 1- Preheat your oven to 350 degrees. Grease or line a baking sheet with a Silpat or parchment paper and set it aside.
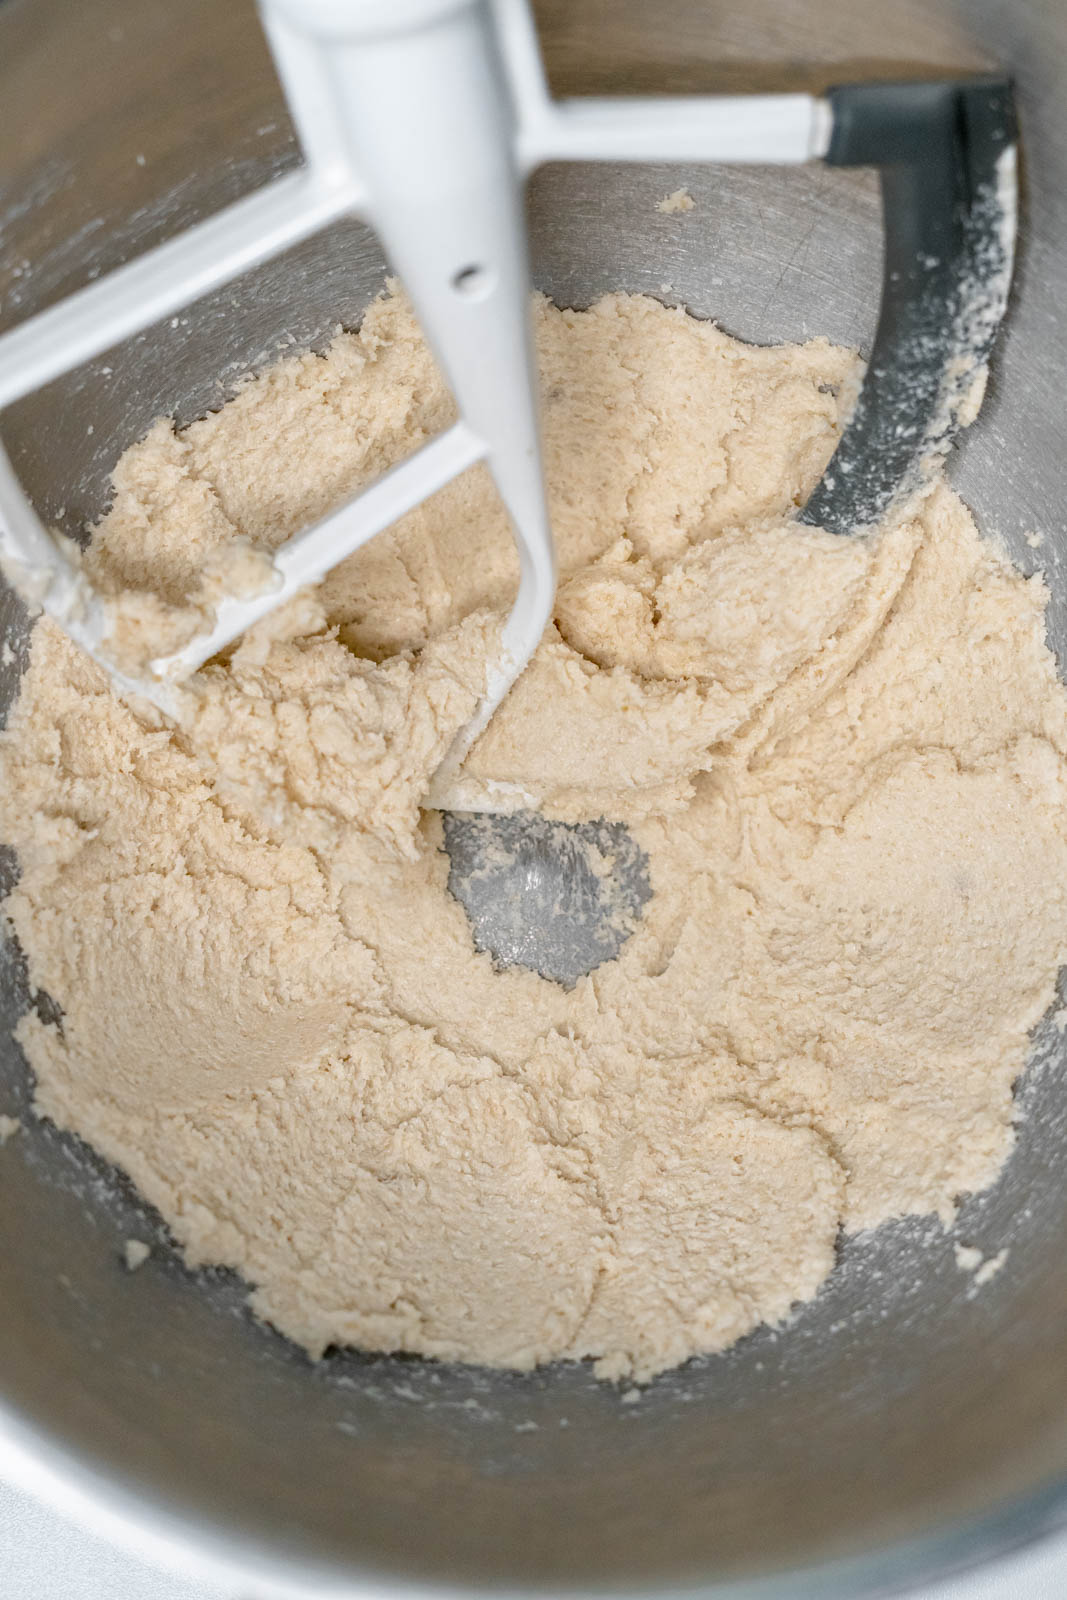
Step 2- Take your stand mixer or electric hand mixer and add your softened vegan butter and sugars to the bowl. Let mix on medium speed for a few minutes to cream them together.
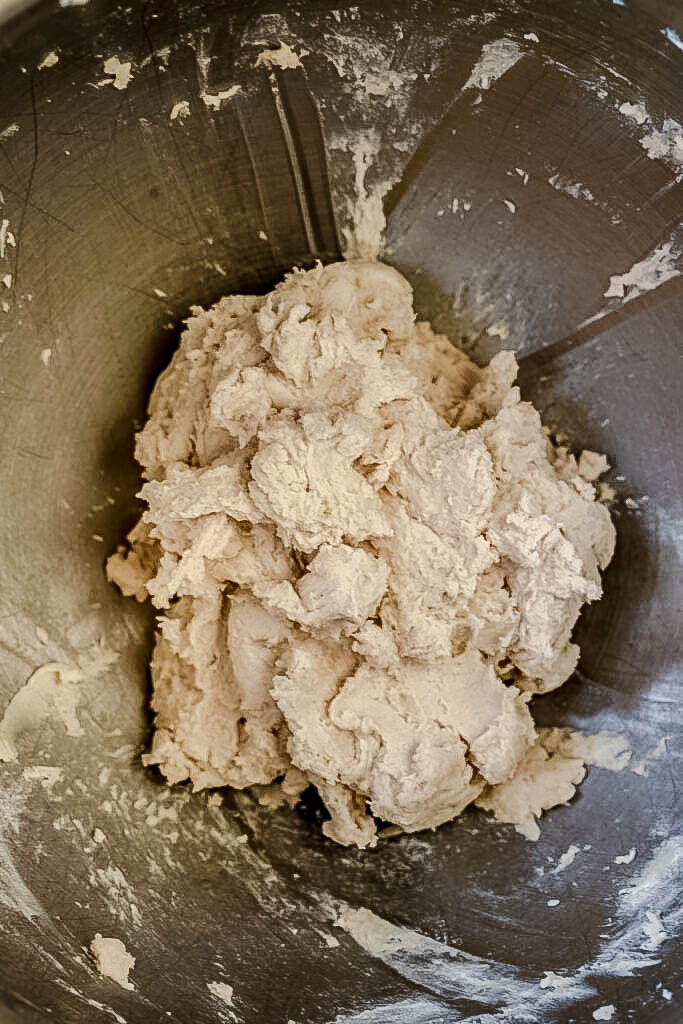
Step 3- Add your nondairy milk, vanilla, almond extract, salt, and baking powder until combined. Then add your flour and mix until combined.
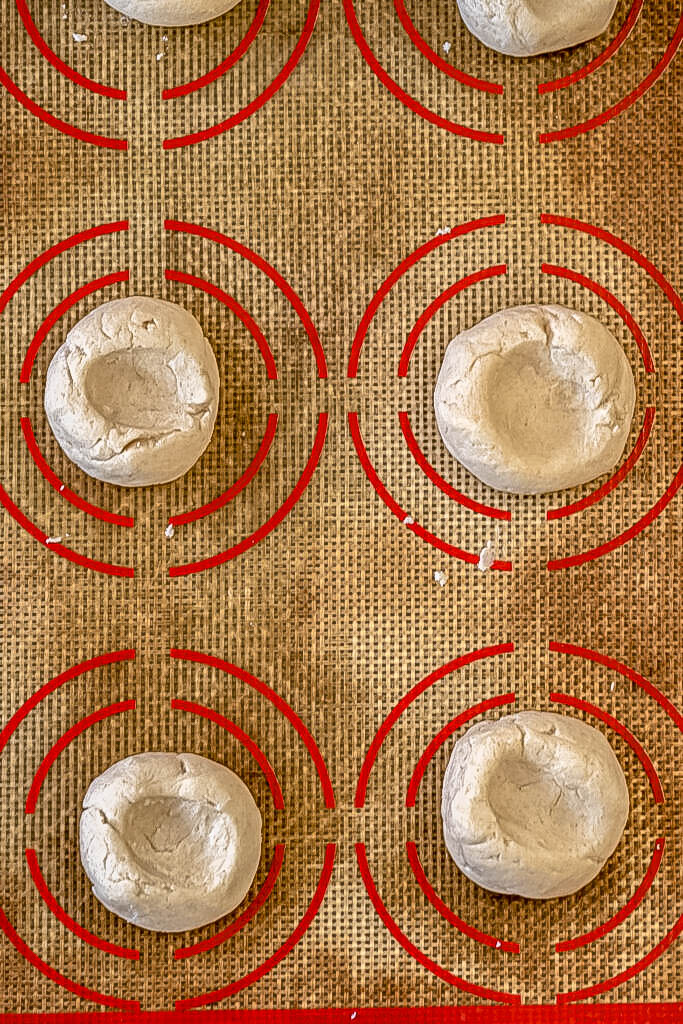
Step 4- Take a small cookie scoop (or whatever size you're trying to use for your dough balls), roll the cookie dough into a ball, and place it on the cookie sheet; take your clean thumb and make an indent in the center of each cookie where the jam will go.

Step 5- Bake cookies; Let this bake for 6 minutes, and remove them from the oven. I carefully indent them a little more since cooking them makes them puff up a bit, so carefully (they will be hot) indent a bit before placing the jam if needed. Add the jam you choose; the amount will depend on your indent size. I filled mine with about one teaspoon of jam.
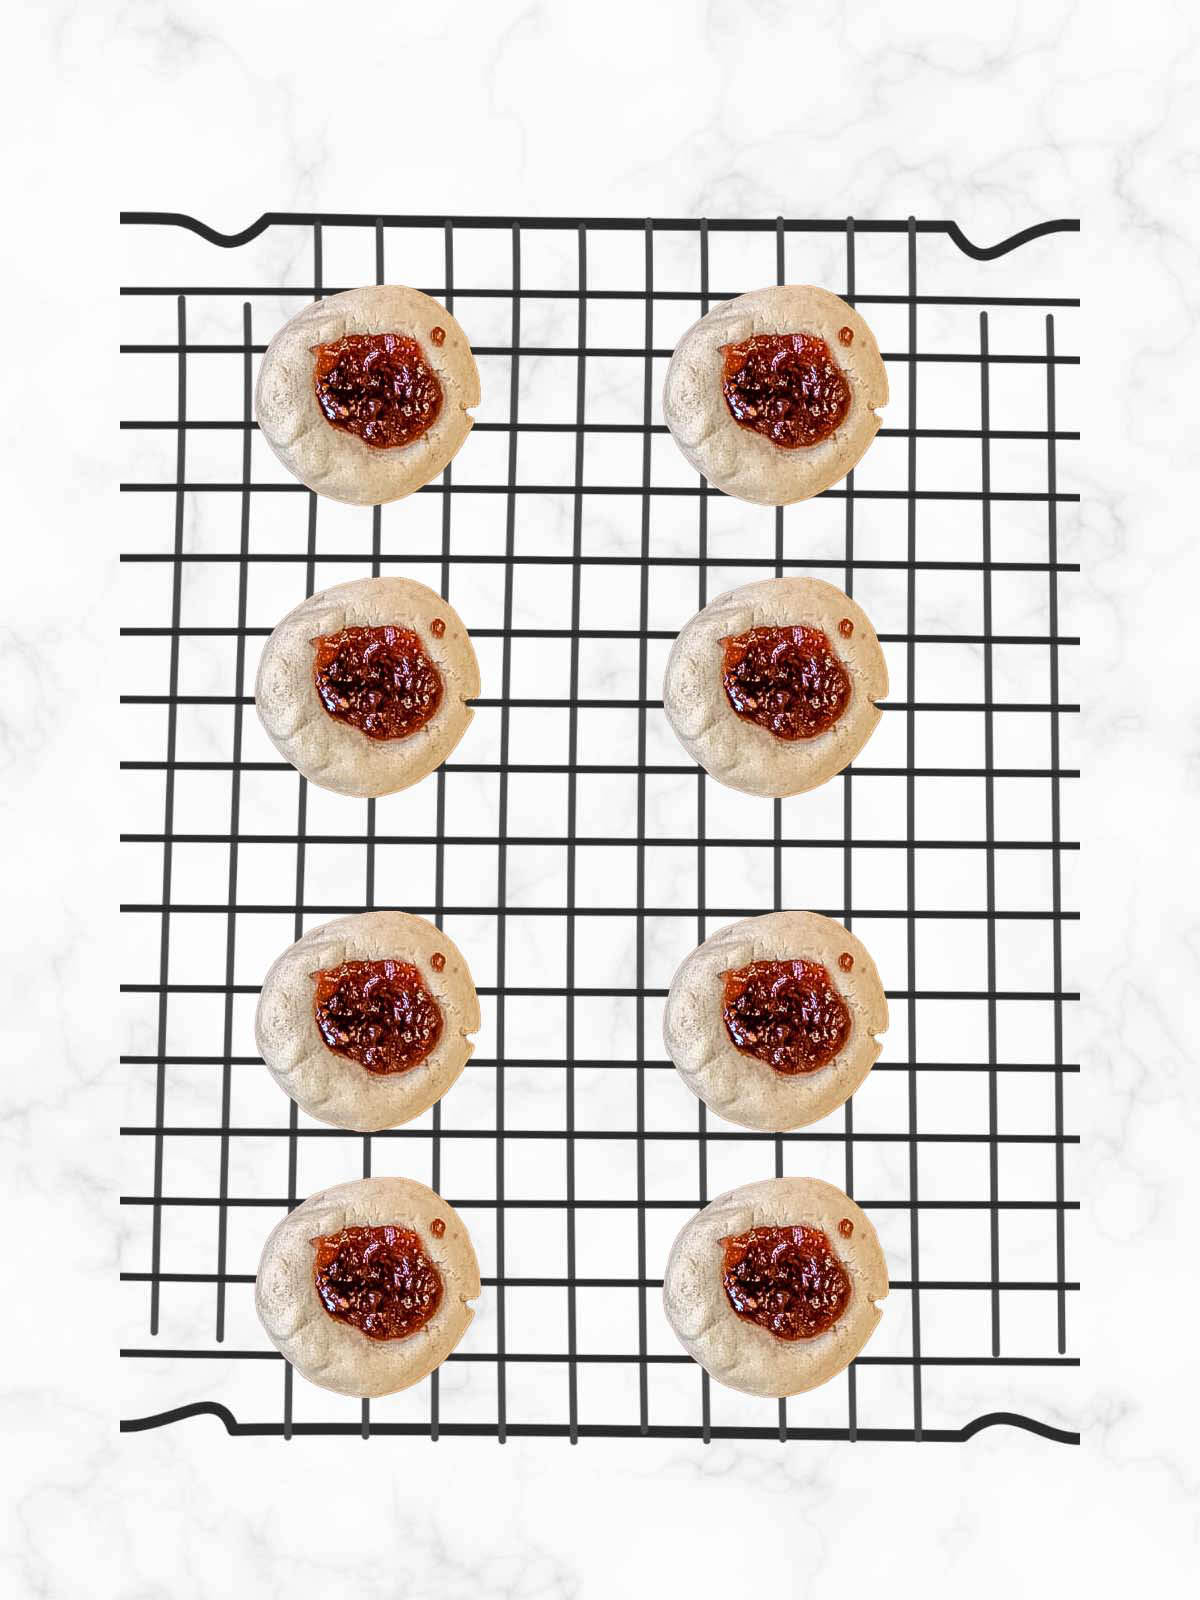
Step 6- Place them back in the oven for another 5 minutes or until cooked. Don't overbake. Let them sit on the hot cookie sheet for 5 minutes, then remove them to a cooling rack.

Step 8- Take a small bowl and combine the icing ingredients until mixed smooth.

Step 9- Once the cookies are cooled, you can drizzle the icing on the cookies, or you can leave it off.
Expert Tips and Tricks
- You don't have to use the glaze, but I would. It does add a touch more sweetness, but I like them both ways.
- These cookies don't spread too much, so there is no need to chill the dough.
- The baking time will vary depending on the size of the cookie you're making.
- I prefer to use the smaller cookie scoop, which makes the perfect size cookie, but if you're making a larger one, it will change the bake time by a few minutes.

Recipe FAQS
These are best served either slightly warm from the oven or at room temperature. They can be served alone or with a cup of coffee or tea.
Let the cookies come to room temperature before storing them in an airtight container on the counter for up to 5 days.
If you want to freeze thumbprint cookies, let them come to room temperature before placing them in a freezer-safe airtight container. Place them in the freezer for up to 3 months. Let the cookies defrost on the counter before serving.
You can freeze the cookie dough if you're not ready to make them yet. Shape them with the thumbprint indent just like you would be baking them, then place them on a cookie sheet that fits in your freezer and place the cookie balls not touching on the sheet. Place the sheet in the freezer for an hour or until frozen, and then stack the frozen cookies in a freezer-safe bag. When you're ready to bake, let the dough come to room temperature, then bake accordingly.
Thumbprint cookies come from the literal sense that you roll the dough and then press in the middle with your thumbprint to indent them. In Sweden, they are called Hallongrotta, which in English means raspberry cave; it seems fitting!
Here are some other delicious vegan cookie recipes
If you loved this recipe, then give it a 5-star rating and leave a comment! I love to chat with you all. Please feel free to share on social media and tag #courtneyshomestead. I would love to see you over on Instagram or Facebook.

Vegan Thumbprint Cookies
Ingredients
- 1 cup vegan butter softened
- ¼ cup white sugar
- ¼ cup powdered sugar
- 4 TB non dairy milk
- 1 teaspoon vanilla extract
- ¼ teaspoon almond extract
- 2 ½ cups all purpose flour
- ½ teaspoon baking powder
- ¼ teaspoon salt
- ½ cup jam less or more
Glaze
- 1 cup powdered sugar
- 2 TB non dairy milk
- ½ teaspoon vanilla extract
- ⅛ almond extract
Instructions
- Preheat your oven to 350 degrees grease or line a cookie sheet with a Silpat or parchment paper and set it aside.
- Take your stand mixer and cream your vegan butter and sugars for a few minutes. Add your nondairy milk, vanilla, almond extract, salt, and baking powder until combined. Add your flour and mix until combined.
- Take a small cookie scoop (or whatever size you're trying to make), roll the cookie dough into a ball, and place it on the cookie sheet; take your clean thumb and make an indent in the cookie where the jam will go. Let this bake for 6 minutes, remove from the oven, and add the jam; the amount will depend on your indent. I carefully indent them a little more since cooking them makes them puff up a bit, so carefully (they will be hot) indent a bit before placing the jam if needed. Place them back in the oven for another 5 minutes or until cooked. Don't overbake.
- Let them sit on the hot cookie sheet for 5 minutes, then remove them to a cooling rack.
- Take a small bowl and combine the icing ingredients until mixed smooth. Once the cookies are cooled, you can drizzle the icing on the cookies, or you can leave it off.
Notes
You can also freeze the cookie dough if you're not ready to make them quite yet. Shape them with the thumbprint indent just like you would be baking them, then place them on a cookie sheet that fits in your freezer and place the cookie balls not touching on the sheet. Place the sheet in the freezer for an hour or until frozen, and then stack the frozen cookies in a freezer-safe bag. When you're ready to bake, let the dough come to room temperature, then bake accordingly. Expert Tips and Tricks-
- You don't have to use the glaze, but I would. It does add a touch more sweetness, but I like them both ways.
- There is no need to chill the cookie dough. These cookies don't spread too much, so there is no need to chill the dough.
- The baking time will vary depending on the size of the cookie you're making.
- I prefer to use the smaller cookie scoop, which makes the perfect size cookie, but if you're making a larger one, it will change the bake time by a few minutes.






Leave a Reply